















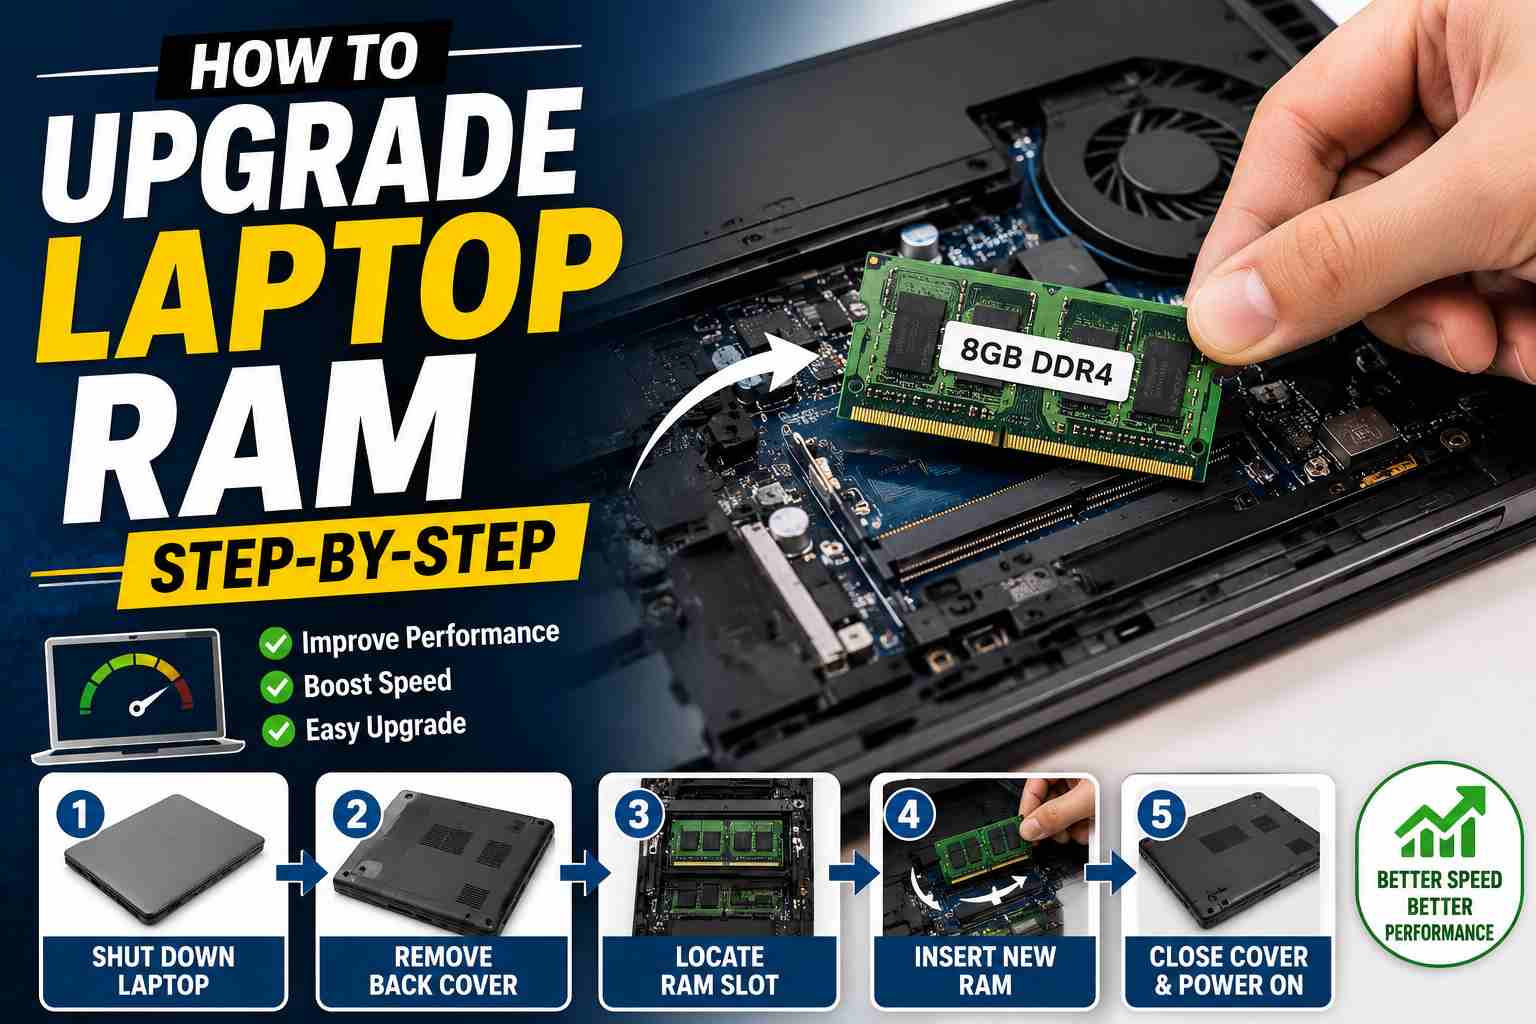
Is your laptop feeling sluggish? Before you spend hundreds on a new machine, a simple RAM upgrade could be all you need. More memory lets you run multiple apps smoothly, edit photos without freezing, and keep dozens of browser tabs open. The best part? Upgrading laptop RAM is a beginner‑friendly task that takes about 15 minutes. This step‑by‑step guide walks you through everything—from checking compatibility to closing the back panel. If you’re still shopping for an upgrade‑friendly laptop, start with our list of laptops.
Table of Contents
- Before You Start: Compatibility & Tools
- Safety First: Static Discharge & Power Off
- Step‑by‑Step RAM Installation
- Verifying the Upgrade (BIOS & Windows)
- Troubleshooting: Laptop Won’t Boot After Upgrade?
- Frequently Asked Questions
Before You Start: Compatibility & Tools
Not all RAM works in every laptop. You need to match the type, speed, and capacity your laptop supports. Buying the wrong stick means a waste of money and time.
1. Find Out What RAM Your Laptop Needs
- Use a system scanner (easiest): Download the free Crucial System Scanner. It instantly tells you the exact compatible RAM type, max capacity, and available slots.
- Check manually: Open Task Manager (Ctrl+Shift+Esc) > Performance tab > Memory. Note the type (DDR4/DDR5), speed (e.g., 3200 MHz), and how many slots are used. Then search your laptop model on the manufacturer’s site for max supported RAM.
- Use a detailed tool: CPU‑Z (free) gives you the exact part number of your installed RAM.
If your laptop has soldered RAM (common in ultra‑thin models), upgrading is impossible. Confirm upgradeability before buying.
2. Choose Your RAM Kit
For the smoothest experience, buy a matched pair of identical sticks (or a single stick if you’re adding to an existing one). Stick to reputable brands like Crucial, Kingston, or Corsair.
3. Gather the Tools
- Small Phillips‑head screwdriver (usually #00 or #0)
- Plastic pry tool, guitar pick, or an old credit card (to gently pop open the bottom panel)
- Anti‑static wrist strap (optional but recommended) or touch a metal surface before starting
- Clean, well‑lit workspace
That’s it—no soldering, no advanced skills needed.
Safety First: Static Discharge & Power Off
Static electricity can fry sensitive components. Follow these steps before touching any internal hardware.
- Shut down the laptop completely. Do not use Sleep or Hibernate.
- Unplug the charger and all peripherals (USB drives, external monitors, mouse).
- Remove the battery if possible. Many modern laptops have internal batteries; you’ll disconnect the battery connector from the motherboard after opening the case.
- Press and hold the power button for 10–15 seconds to drain residual electricity.
- Ground yourself. Wear an anti‑static wrist strap connected to a metal ground, or frequently touch a bare metal surface (like a desk leg) while working.
Step‑by‑Step RAM Installation
Now you’re ready to swap or add memory. We’ll walk through a typical laptop with a removable bottom panel; the exact screw placement varies by model, but the principle is the same.
Step 1: Open the Bottom Panel
- Flip the laptop upside down on a soft, clean surface.
- Remove all screws from the bottom cover. Keep them organized—some may be different lengths.
- Use a plastic pry tool to gently separate the panel clips. Start from a corner and work your way around. Never force it; if it resists, you likely missed a screw.
- Important: Many laptops have hidden screws under rubber feet or stickers. Check those first.
Step 2: Disconnect the Battery (Safety Requirement)
The moment you see the motherboard, locate the battery connector. It’s a rectangular plastic plug with multiple wires leading to the battery.
- Gently lift the connector straight up (or slide it out, depending on the design). Avoid pulling by the wires.
- If your laptop has a removable external battery, you’ve already removed it—skip this.
This step prevents any accidental short circuits while you handle the RAM.
Step 3: Locate the RAM Slots
RAM slots are usually easy to spot: long, narrow sockets with metal retaining clips on both sides. Many laptops have two slots stacked or side‑by‑side. If you see a metal shield or black plastic cover over them, that’s an EMI shield—it lifts off easily or is held by a single screw.
Step 4: Remove Existing RAM (If Needed)
If you’re replacing old sticks or there are no free slots, you’ll need to remove the existing RAM first.
- Gently push the metal clips outward. The RAM module will pop up at a 30‑degree angle.
- Hold the module by the edges (do not touch the gold pins) and slide it out.
Step 5: Insert the New RAM
Hold the new RAM stick by the edges, aligning the notch in the connector with the key in the slot.
- Insert the module at a 30‑degree angle, firmly but gently pressing it into the slot until the gold pins are fully seated.
- Push the module down flat. The side clips should snap into place automatically, locking the RAM securely.
- If the clips don’t click, the module isn’t fully seated. Remove it and try again—never force it.
Repeat for the second stick if you’re installing a pair.
Step 6: Reconnect the Battery & Close Up
- Carefully reconnect the battery plug. Press it down evenly until it’s flush.
- Place the bottom panel back on, pressing around the edges to snap the clips in.
- Reinsert all screws in their original positions.
Double‑check that no screws are left over and the panel sits flush. You’re done!
Verifying the Upgrade (BIOS & Windows)
Don’t just assume the RAM is working. Verify that your laptop recognizes the full amount.
- Turn on the laptop. The first boot may take a minute as the system configures new memory.
- Enter the BIOS/UEFI (usually by pressing F2, Del, or Esc during startup). Look for “System Information” or “Memory” to see total installed RAM.
- In Windows: Right‑click the Start button > System. Under “Device specifications,” check “Installed RAM.” It should show the new total.
- Run a quick memory test if you want to be thorough. Type
Windows Memory Diagnosticin the Start menu and run it; it will restart your PC and test for errors.
If everything shows the correct amount, you’ve successfully upgraded your laptop RAM.
Troubleshooting: Laptop Won’t Boot After Upgrade?
A blank screen or beeping sounds can be scary, but they’re usually easy to fix.
- RAM not seated fully: The most common cause. Re‑open the laptop, remove the RAM, and re‑insert it firmly until both clips click.
- Incompatible RAM: If the module isn’t the correct type (e.g., DDR4 in a DDR5 slot), the laptop won’t boot. Double‑check with the Crucial scanner.
- Dirty contacts: Gently clean the gold pins with a soft, dry cloth (or a pencil eraser). Avoid liquid.
- Forgotten battery plug: If you disconnected the battery and forgot to reconnect it, the laptop may run only on AC power or not start at all.
- Reset the old RAM: If nothing works, put back the original memory. If the laptop boots, the new RAM is likely faulty and should be returned.
Frequently Asked Questions
Can I mix different RAM brands or speeds?
Yes, but it’s not ideal. The system will run all RAM at the speed of the slowest stick. For best stability, use identical modules (same brand, speed, and capacity).
Does adding RAM void my laptop warranty?
It depends on the manufacturer. Many gaming and business laptops have user‑upgradeable RAM and warranty‑friendly designs. Ultra‑thin laptops with soldered RAM typically can’t be upgraded at all.
How much RAM do I really need in 2026?
For basic use (browsing, office apps), 8 GB is the absolute minimum. 16 GB is the sweet spot for most users. 32 GB is recommended for video editing, 3D modeling, or heavy multitasking.
Do I have to reinstall Windows after a RAM upgrade?
No. The operating system automatically detects the new memory. You don’t need to reinstall anything.
What if my laptop only has one RAM slot?
You can still upgrade by replacing the single stick with a higher‑capacity one. Just ensure the new module doesn’t exceed your laptop’s maximum supported capacity. Some laptops have one soldered stick and one empty slot; in that case, adding a second module increases total RAM and can enable dual‑channel performance.
Disclaimer: This guide is for informational purposes only. Opening your laptop may void the warranty if not allowed by the manufacturer. Always follow anti‑static precautions and consult your laptop’s service manual. We are not responsible for any damage. Product prices and specifications are accurate as of 2026 but may change.